What Is A Soil Compaction Test? A Complete Guide

By Kerry Cooper
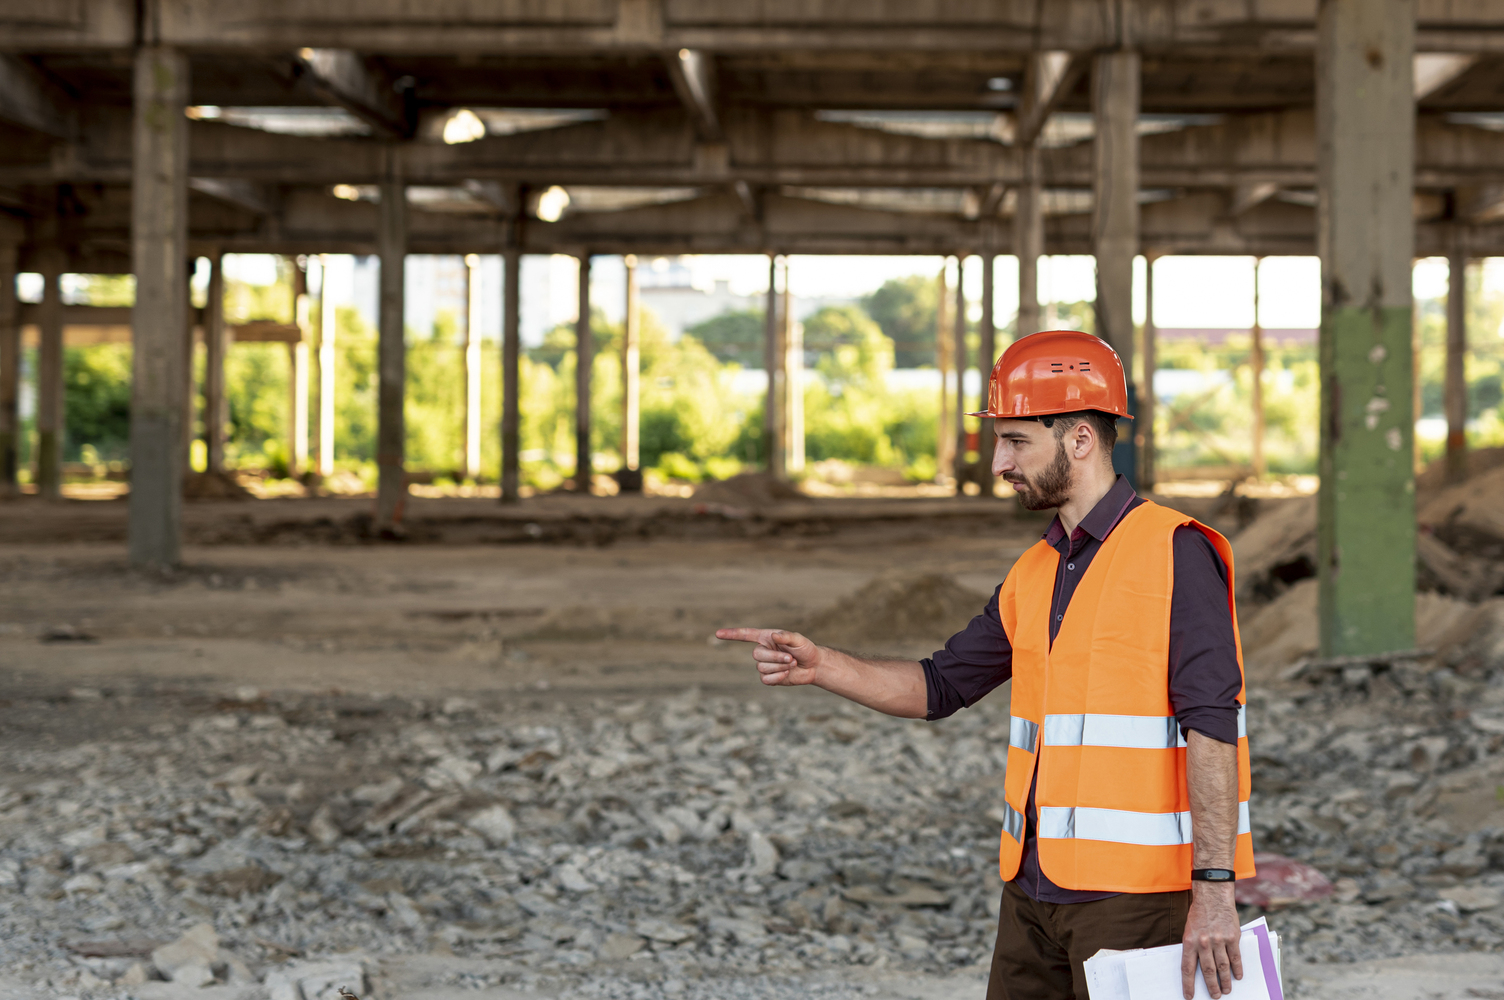
For those of you who are building a home, driveway, warehouse, retaining wall, backyard shed, or anything that rests on the ground you need to get your soil compacted.
You see, weak or loosely packed soil is the number one reason why structures settle, crack, or fail long before their lifespan.
This is exactly why a soil compaction test is standard for all construction projects and done right when the site is being prepared.
In fact, engineers like us at NewTech Engineering insist on field and laboratory soil testing for every project.
In this blog, I will walk you through all things compaction test. You learn:
- What is compaction test
- How is it done
- The different test methods
- Why is this test so important
So, let’s get started.
Key takeaways
- A soil compaction test checks if the ground is firm enough for building.
- It prevents structures from sinking, cracking, or tilting.
- Engineers use lab and field tests to check soil density and moisture.
- Proper compaction makes the ground stronger and supports heavy loads.
- The test uses methods like sand cone, water balloon, or nuclear gauges.
- Poor compaction can be fixed by adding moisture, changing equipment, or replacing soil.
- Common compaction target: 90-98% of the maximum density.
What is a soil compaction test?
A soil compaction test checks whether the soil at your site is dense and strong enough to support foundations, slabs, pavements, and structures without excessive settlement.
It is like an advanced version of a plate load test. And it tells you if the soil is packed tightly enough to build on.
Here, engineers compare the density of the soil in the field and check for the maximum density it can achieve. And they do so through a laboratory test called the proctor test.
Now, depending on the project, your soil’s field density should usually reach 90-98 percent of the lab maximum.
But what if your solid doesn’t match lab maximum?
In this case, the soil needs more compaction, adjustment of moisture, or in some cases, stabilization.
Don’t Let Site Conditions Delay Your Project
From geotechnical reports to environmental assessments, and more, our ACI-certified experts deliver the data and insights you need to stay on schedule.
Why is soil compaction so important?
If the soil on which your house sits is uneven, or full of gaps, everything on top can sag, tilt, or crack over time.
This is exactly why soil compaction is so important. It turns loose, weak soil into a stable, supportive base for whatever you’re building.
Here’s why a properly compacted soil essential:
1. Prevents uneven settlement
When soil is packed tightly and evenly, your foundation, floors, and pavements stay level.
Uneven soil, on the other hand, can make parts of your structure sink while others stay put. This can lead to cracks and tilting.
2. Keeps slabs and pavements from cracking
Concrete, asphalt, and other surfaces don’t tolerate weak ground. So, compacted soil acts like a firm cushion, reducing the chance of stress cracks forming over time.
3. Improves load-bearing capacity
Tightly packed soil can carry heavier loads safely. This is essential no matter whether you’re building a home, parking lot, warehouse, or road.
4. Reduces future maintenance costs
Once you’ve properly compacted soil from the start, you avoid expensive repairs later on. You don’t want to constantly patch a sinking driveway or fix cracks in a floor.
5. Helps meet engineering and municipal standards
Most building codes and civil projects require soil to reach certain compaction levels. And if you do it right the first time, it keeps your project compliant and avoids headaches with inspections.
In short: Soil compaction isn’t just a technical step, it’s the foundation of a safe, stable, and long-lasting structure.
How is a soil compaction test done?

Soil compaction testing might sound complicated, but it’s really just a way to check if the soil under your project is strong and packed tightly enough.
Think of it like checking if your concentration site is firm enough after you’ve done an electrical resistivity tomography and before you pour in the concrete.
Now, compaction testing has two main components, lab testing and field testing.
Here’s how it’s done both in the lab and on the ground:
1. Lab or proctor compaction test of soil
Before you even step foot on the site, you need to know how dense the soil can get under ideal conditions. And this is something that’s determined by a proctor compaction test of soil.
Also, the test gives engineers a target for how compact the soil should be in the field.
The proctor test measures two things:
- Maximum dry density (MDD): This is the tightest packing the soil can achieve when it’s dry. Think of it as the perfectly packed soil.
- Optimum moisture content (OMC): This is the exact moisture level where the soil compacts best. Moisture works like a lubricant, a little helps soil particles settle together, but too much makes it muddy and weak.
Now, there are two types of proctor tests, standard and modified:
- The standard proctor test uses ASTM D698 and is good for homes, small buildings, and light construction.
- The modified proctor test uses ASTM D1557 and is good for heavy-duty projects like highways, airport runways, and large warehouses.
Once you know the maximum dry density and optimum moisture content, the next step is to see if the soil on your site actually reaches it.
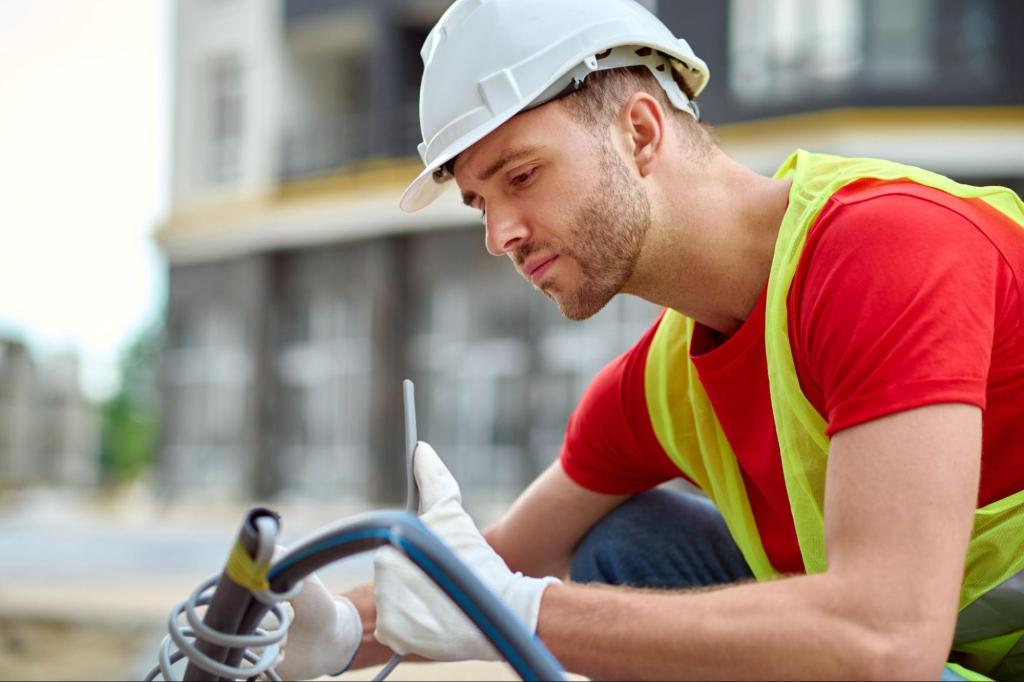
2. Field tests to measure soil compaction on your site
Now that we know what the soil should be like, you need to check the soil on-site using one of several methods.
Method #1. Sand cone test
Think of this as a fill-the-hole method to see how tightly soil is packed.
Here’s how it works:
- A small hole is dug in the compacted soil.
- The removed soil is weighed and tested for moisture.
- A sand cone device is placed over the hole, and sand is allowed to fill the empty space.
- The amount of sand that fits in the hole tells us the volume of soil removed. From this, you can calculate the in-place density.
Why is it useful:
- Accurate and reliable
- Simple to use
- Excellent for quality control
Method #2. Rubber balloon/water replacement test
This is similar to the sand cone test but uses water instead of sand. It’s less common but still handy in tricky areas where sand cones aren’t practical.
Here’s how it works:
- A hole is dug.
- A balloon device is placed over the hole.
- Water is poured into the balloon, filling the hole.
- The volume of water displaced tells us the volume of soil removed.
- From this, the soil’s density is calculated.
Method #3. Nuclear density gauge (this is the most common method)
This is the fastest and most widely used method on modern construction sites.
Here’s how it works:
- A small handheld device is placed on the soil surface.
- It emits very low-level radiation into the soil.
- The device measures how tightly soil particles are packed and also determines moisture content.
Why is it popular:
- Gives instant results
- Can check multiple spots quickly
- Reliable when used by certified technicians
- Combines density and moisture measurement in one test
You see, field tests like these allow engineers to confirm that your soil is compacted properly before you pour foundations, lay pavements, or build any structure.
And if the soil doesn’t pass, it is adjusted with more rolling, adding or reducing moisture, or even soil replacement. It is retested until it meets the target.
TL;DR, here’s how soil compaction test is done
| Test Method | How It Works | Best For | Pros |
| Proctor Test (Lab) | Determines maximum density and moisture level of soil in ideal conditions. | All construction projects | Gives a target for compaction on-site. |
| Sand Cone Test (Field) | Measures how tightly soil is packed by filling a hole with sand. | Smaller areas, quality control | Accurate and reliable. |
| Water Balloon Test (Field) | Similar to sand cone but uses water to measure soil density. | Areas where sand is impractical | Useful in tricky areas. |
| Nuclear Density Gauge (Field) | Emits low-level radiation to check soil density and moisture. | Large construction sites | Quick results, measures moisture, and density. |
What determines soil compaction test result?

Every soil has different levels of compaction. So, even if you roll over soil a few times, the results can vary a lot depending on several key factors.
Overall, here are the factors that determine soils compaction testing results:
1. Moisture content
Moisture always needs to be just right. Here’s why:
- Too dry: Soil particles won’t stick together properly, leaving air gaps. The soil stays loose and weak.
- Too wet: Soil becomes muddy and sloppy, and rolling it won’t make it any denser.
- Just right: An optimum moisture content allows soil particles to pack tightly for maximum strength.
Getting moisture right is often the most important factor in compaction. Here, engineers carefully adjust water levels in the field to hit this sweet spot.
2. Soil type
Different soils behave very differently when compacted. For instance:
- Clay is heavy and sticky and it needs proper moisture to compact well; too dry or too wet makes it weak.
- Sand packs easily, but loose sand can shift under load if it’s wet.
- Organic soils like peat, topsoil, and debris rarely compact well and often must be removed or replaced.
3. Compaction equipment
Not every roller or compactor works for every soil. So, use the wrong machine and you’re trying to hammer a nail with a wrench. For instance:
- A smooth drum roller is good for granular soils like sand.
- Padfoot roller is best for clay or cohesive soils.
- Plate compactor/rammer is ideal for small areas, trenches, or tight spots.
The type of equipment, combined with weight and vibration, affects how dense the soil becomes.
4. Lift thickness
Soil is compacted in layers called lifts. For instance:
- Thin lifts compact evenly and thoroughly.
- Thick lifts might remain loose at the bottom even if the top looks firm.
Following the right lift thickness you’ll be able to achieve consistent compaction.
5. Number of passes
The number of times you roll or tamp the soil also matters. For instance:
- Too few passes and the soil stays loose, reducing strength.
- Just enough passes and you’ll achieve proper density.
- Too many passes can actually damage soil structure, especially clay, making it weaker.
Engineers balance passes based on soil type, moisture, and equipment.
6. Testing technique
Even with everything done right, compaction results can be inaccurate if the testing is off.
Common mistakes include:
- Moisture content not measured correctly
- Nuclear density gauge not calibrated
- Sand cone or water replacement not properly used
- Holes dug too shallow or uneven
This is why trained, experienced technicians are crucial. They know how to avoid errors and ensure results are reliable.
TL;DR, here’s are the factors that affect test results:
| Factor | Effect on Compaction | How to Fix |
| Moisture Content | Too dry or too wet soil can’t compact properly. | Adjust moisture to optimal level. |
| Soil Type | Different soils behave differently. Clay, sand, and organic soil all compact in different ways. | Replace or adjust soil types. |
| Compaction Equipment | Wrong equipment for the soil type can lead to poor results. | Use the right machine for the soil. |
| Lift Thickness | Thin layers compact better than thick ones. | Compact in thin layers (lifts). |
| Number of Passes | Too few passes may leave soil loose; too many may harm the soil structure. | Balance the number of passes. |
| Testing Technique | Mistakes in testing methods can lead to inaccurate results. | Ensure proper calibration and technique. |
When do you need soil compaction testing?
You need a soil compaction test in the following situations:
- You’re building a new home or doing home addition
- You’re installing a driveway or parking lot
- You’re preparing for a warehouse or commercial building
- You’re constructing retaining walls
- You’re fixing settlement issues
- You’re backfilling trenches for plumbing or utilities
TL;DR, reasons to get a soil compaction test:
| Situation | Reason for Testing |
| Building a new home | Ensures foundation stability. |
| Installing a driveway/parking lot | Prevents cracking and sinking. |
| Building a warehouse/commercial building | Supports heavy loads and large structures. |
| Constructing retaining walls | Ensures the soil can hold the wall without shifting. |
| Fixing settlement issues | Stops further sinking or cracking in settled areas. |
| Backfilling trenches | Ensures stability of trench fills before further construction. |
You might also want to read: How Is A Compressive Strength Test Of Concrete Done In The Carolinas?
Don’t Let Site Conditions Delay Your Project
From geotechnical reports to environmental assessments, and more, our ACI-certified experts deliver the data and insights you need to stay on schedule.
Conclusion
As you can see, a soil compaction test is a crucial step to ensure your home, driveway, foundation, or building stays stable for decades.
It protects your investment, meets code requirements, and prevents costly repairs in the future.
Need one such test at your project site?
You can get in touch with us!
At NewTech Engineering, we are seasoned lab and field testing experts with decades of hands-on experience.
Whether it’s a residential site, commercial project, or anything in between, we’ve got all your testing needs covered on a budget.
FAQs about compaction of soil in construction
What is a good compaction percentage for construction?
Most construction projects aim for soil compaction between 90 and 98 percent of the maximum dry density (MDD).
The exact number depends on what you’re building. For instance:
- Homes and light structures: Usually 90-95 percent compaction is sufficient.
- Pavements, warehouses, and heavy-duty structures: Typically 95-98 percent compaction is needed because these surfaces carry much higher loads.
Which test method is most accurate?
Accuracy depends on your needs. For instance:
- Sand cone test: Widely regarded as the most accurate because it directly measures the soil’s in-place density. It’s a bit more labor-intensive but gives engineers confidence in critical areas.
- Nuclear density gauge: Faster and more convenient, especially for large sites. It gives instant results and also measures moisture content.
Often, engineers use both. Nuclear gauges for quick checks and a sand cone test to verify key spots. This combination balances speed and accuracy.
How long does a compaction test take?
It varies depending on the method. For instance:
- Nuclear density gauge: 5-10 minutes per spot. Instant results, great for multiple checks.
- Sand cone test: 20-30 minutes per spot. Slower but highly accurate.
- Proctor lab test: Usually takes about 1 day. This gives the target density (MDD) and optimum moisture content (OMC) that field tests aim for.
For most construction sites, you’ll get field results the same day, so there’s no long wait before continuing work.
What happens if my soil fails the compaction test?
No need to panic, failing is fixable. Engineers have several options to improve soil compaction, Including:
- Adding moisture: If the soil is too dry, water helps it pack tighter.
- Drying the soil: If it’s too wet, letting it dry or aerating can improve density.
- Using a different roller or compactor: Some soils respond better to specific equipment.
- Reducing lift thickness: Compacting in thinner layers ensures the bottom gets firm.
- Replacing weak soil: In cases of very poor soil, engineers may bring in stronger fill.
- Stabilizing with cement or lime: For special cases, chemical stabilization improves strength.
After adjustments, the soil is retested until it meets the required density. This ensures your foundation, pavement, or slab is safe.
Is the nuclear gauge safe?
Yes, completely safe when operated by certified technicians.
The gauge uses very low radiation, far below harmful levels, and is enclosed in a protective casing. Field teams are trained to follow strict safety protocols, so there’s no risk to workers or the public.
Can I do a compaction test myself?
Not realistically. Compaction testing requires:
- Specialized tools (sand cones, nuclear gauges, Proctor lab setup)
- Certification and training to handle equipment safely
- Proper calibration to ensure results are accurate
- Engineering interpretation to decide if soil meets building standards
Trying to test soil yourself usually results in unreliable readings and could risk your construction project. A professional team ensures the results are code-approved and reliable.
Kerry Cooper is the founder of New Tech Engineering, He brings over 20 years of hands-on experience in geotechnical investigation, soil analysis, and foundation design across residential, commercial, and infrastructure projects. Kerry leads a team focused on delivering data-driven insights that help builders and developers make smarter, safer decisions from the ground up.